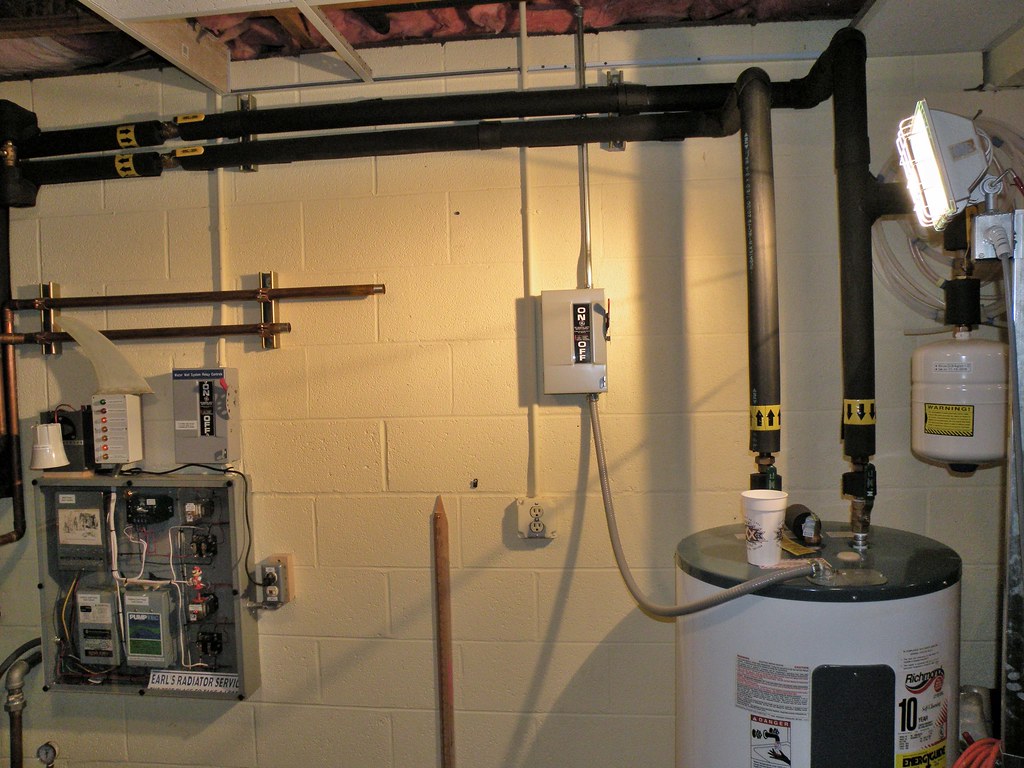
Hard water is highly common in the U.S., present in over 70% of American households. Hard water contains a high concentration of dissolved minerals such as magnesium and calcium.
 These dissolved minerals have been known to cause stains, clog pipes, and damage to appliances as the mineral deposits build up in them. They also alter the taste of the water, making it hard to drink or cook with.
However, water softeners have emerged as a solution to hard water problems. The state health department recommends that people with water containing minerals exceeding seven grains per gallon use a water softener.
If tests on the water you use show that you need a water softener, we’ve created a detailed guide to help you understand how you can install one for home use. Click here to see more details.
How to Install a Water Softener
Step One: Fix the Bypass Valve and Attach the Water Supply
The purpose of a bypass valve is to provide alternative access to water when your water softener is not functional. Some companies provide a shutoff valve for this purpose. A bypass valve is helpful during periods of maintenance and repair of the appliance.
After installing a bypass valve, you should then pipe it into the water supply. Experts recommend you use flexible pipes instead of rigid ones because they are easy to remove if you decide to take out your water softener.
Before connecting the water softener to a water inlet, you must shut off the water supply first to avoid it coming in contact with the electrical components. Connect the flexible pipes to the water supply first, then to the water inlet valve on the water softener.
Step Two: Connect the Tubes and Drain Pipes
If your appliance comes with separate water and mineral deposit tank, you should connect the tubing between the two to ensure the continuous flow of water through the system. It would help to secure these pipes using a hose clamp to avoid unnecessary movement that might damage them.
After connecting the two tanks, you should then proceed to install a drainage pipe. Most water softeners come with two drainage pipes. One is connected to the mineral deposit tank to control the overflow. The other is connected to the control valve of the water backflow.
It is advisable to connect both pipes to the main drainage channel in the house to avoid costly drainage installations.
Step Three: Test Run Your Water Softener
Once you have made and secured all the connections, plug your system into a power supply to give it a test run. The test run will help you identify any leaks or abnormalities in the system before they become a significant problem.
Open the water shutoff valve and confirm that water is flowing freely through the water softener.
If this test was a success, next, follow the manufacturer’s instructions to perform a backwash cycle. A backwash cycle will get rid of any air bubbles that might interrupt the continuous flow of water in the water softener. It will also loosen the resin beads used to trap the mineral deposits, thereby preventing any clogging.
In Need of a Water Softener? Herriman, Utah, Has Plenty Available
Apart from safeguarding your home appliances, a water softener will also help you avoid staining your teeth and clothes, among many other dangers posed by hard water. Be sure to use a reputable dealer with an applicable warranty if you encounter any problems after your purchase.
Get a water softener in Herriman, Utah, today and enjoy the benefits of clean and safe water in your house.
Related Posts: