Photos or screenshots are an integral part of any article or publication. But many users face the problem of long loading pages with media content, which causes negative emotions.
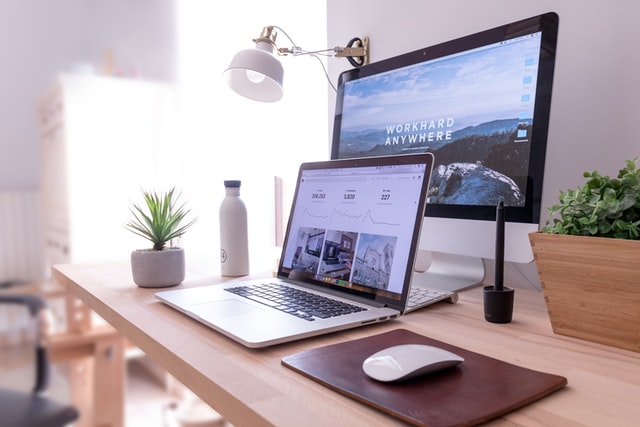
 Photo by Domenico Loia on Unsplash
The reason for this is the lack of proper content optimization. The project manager and SEO-optimizer should take care of this in the first place. Photos and screenshots on the page should be the optimal size that would fit on the page. In addition to this image should be detailed, have the right format and size. How to do it? Read on!
How to choose the right size photos for the site
The problem is that modern photo equipment allows you to take pictures in high resolution. Accordingly, their size often exceeds 20-50 megabytes. Despite the presence of the majority of users of high-speed Internet, large pages are indexed by search engines because of their load. Moreover, the wrong proportions lead to the fact that when you visit a site with a cell phone all the pictures are confused.
There are two key dimensional parameters for all photos uploaded to the site:
- The weight that the content takes up in the memory of the device (computer or mobile), measured in kilobytes and megabytes.
- Size – Px – measured in pixels, denotes the area that the picture takes up on the page.
If your site runs on the Ecwid engine, then the size of images is optimized automatically for each user’s display resolution. This same feature is offered by some other CMS. But in most cases, you need to manually specify the number of px. The optimal format is 1000×1000 px.
As for the weight of media content, the less it is, the faster the page will be loaded. You also need to take care of optimization through compression. The main thing is: do not overdo it, otherwise the quality of display will deteriorate. The optimal weight of the image – 200-400 kilobytes, depending on size.
How to optimize photos for the sites: detailed instructions
Cropping of pictures
If you compress the size of the original image and reduce its weight, the quality of detail is reduced, less sharp details in the photo disappear. If your goal is to show even the elements which are not drawn, add them as a separate frame with enlargement. This way you’ll save space and avoid problems with page optimization. Use Photoshop.
Do I need thumbnails?
Definitely need thumbnails! Many pages on this site need a thumbnail image (as for pages in online stores). Their optimal pixel size is about 250 px and 50 kilobytes. Achieve this value manually in the online tool. And on Ecwid sites thumbnails are created automatically!
What proportions of photos should be added to the site
There is a list of proportions that can be added to the site (optimal):
- 1:1 (square with even sides);
- 4:3 (tall rectangle);
- 3:2 (simple rectangle);
- 16:9 (low rectangle).
Make sure that all screenshots and photos on the site pages are of the same proportion. This will visually brighten up the design. It is important to pick up the proportion and the width of the text. Especially important this information will be if the development of the online store did not include a filling, and you need beautiful and harmonious fit product images on the pages of your resource.
Adjusting the correct sharpness for a photo in Photoshop
The size of the picture and the reduction algorithm directly affect the sharpness and detail. For correct adjustment you need to use the built-in function in the Photoshop editor. The Bicubic Sharper parameters are responsible for sharpness. The Image Size value is better left at 1000 px. To adjust the sharpness of a large photo, reduce its size gradually, each time by 1000 pixels. After each change, set the Bicubic Sharper parameter to adjust the sharpness. That way, you’ll get the result you want without having to make any further adjustments.
The method of sharpening for advanced users
This method involves creating two layers of a photo with different levels of sharpness.
Follow this algorithm:
- Reduce the size of the picture using the Image Size parameter, selecting additionally the Bicubic Sharper parameter.
- Add a second layer on the photo using parameter Duplicate Layer.
- Sharpen the second layer (parameter Filter → Sharpen → Sharpen).
- Make the first layer more transparent (parameter Opacity in the Layer window).
Here you can also use some tricks. For example, add a luminosity mode to the second layer to prevent color ghosting.
What is the best image format to add to the site?
There are a total of three actual formats of photos and screenshots to add to pages:
- JPEG – the most current format, which supports compression with or without loss of quality (depends on the final size);
- PNG – format that allows you to get the most detailed picture after compression;
- GIF is the format that supports animated images (maximum 256 colors).
To choose one, follow the advice:
- if the image has a lot of detail, choose standard JPEG;
- if the image has a lot of flat fills, choose PNG, as in JPEG compression will give the picture pixels, which will be visible on the even edges;
- for animation, choose GIF;
- TIFF is not recommended in any case.
Related Posts: