If you’re looking for a fun fall activity to do with your family, you won’t want to miss these inexpensive, fun, and easy pumpkin carving ideas.
I’m not very creative or crafty and do the minimum in holiday decorating that my kids let me get away with. My fall decor consists of a couple of small pumpkins from the school field trip to the pumpkin patch on the stairs on the porch, a harvest wreath on my front door, and an electronic pumpkin* in the dining room.
Every year, as part of our family’s fall traditions, we pick out a pumpkin to bring home and carve. My husband is great at this sort of thing, so after I buy it and bring it home, he takes it from there.
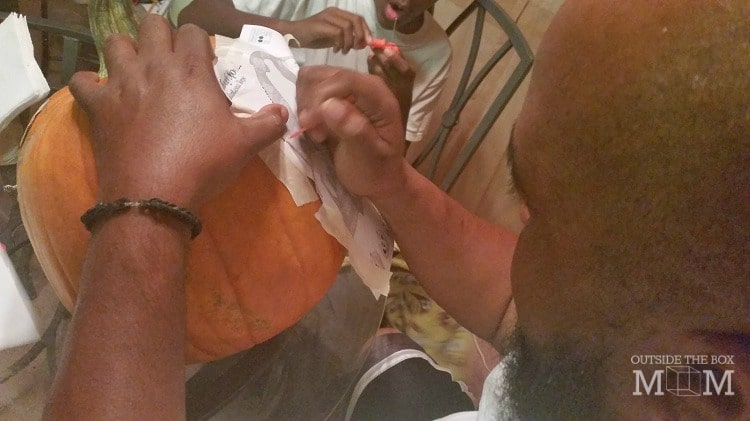
This year, he bought a carving kit. He gathered the kids around the table a couple of weeks before Halloween and dove right in!
Ingredients
from the Pumpkin Masters Pumpkin Carving Kit*
The Starter Saw is for cutting the lid and carving simple designs.
The Scraper Scoop™ quickly cleans out seeds and strings and thins the walls of thick pumpkins. This makes carving easier, cleaner and faster.
The Detail Saw has fine teeth and a sharp point for precision carving.
The Ergo Saw features an ergonomic handle for comfortable carving. It saws easily through the pumpkin and is for general and intricate carving.
The Poker can be used for pattern transfer.
large pumpkin
newspaper
Instructions
Lay newspaper out on the table. Place the pumpkin on top of it. Carve a circular opening at the top of your pumpkin with The Starter Saw.
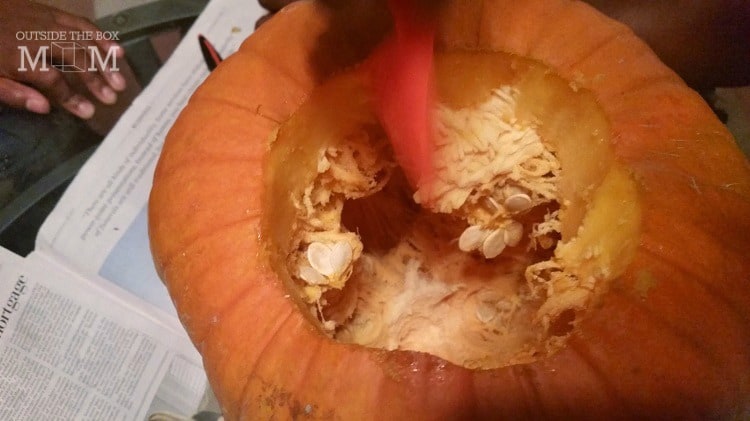
Clean out the seeds and strings with the Scraper Scoop™. Scrape the area you plan to carve until the pumpkin wall is about 1” thick.
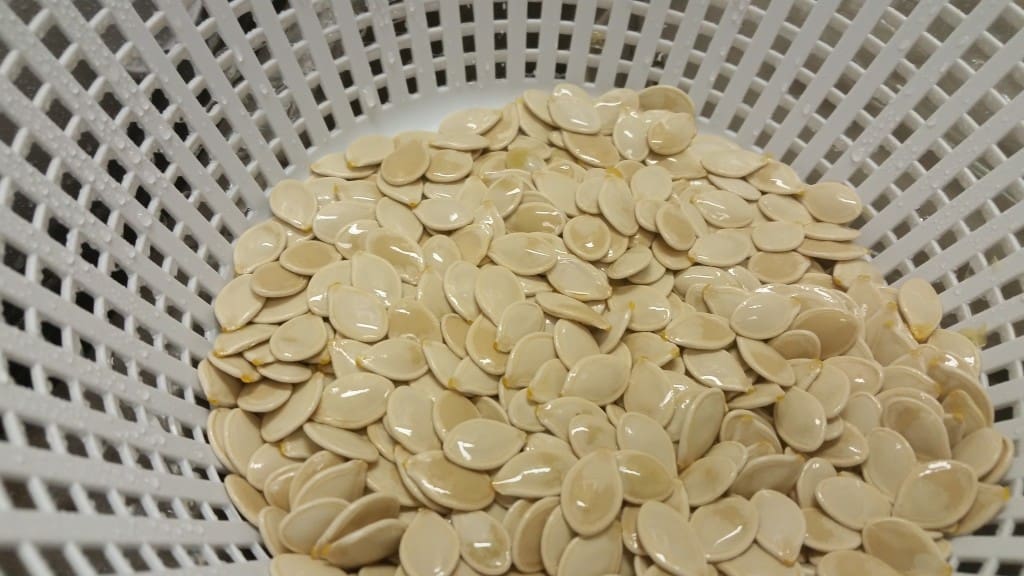
Be sure to save your pumpkin seeds for baking or for other projects.
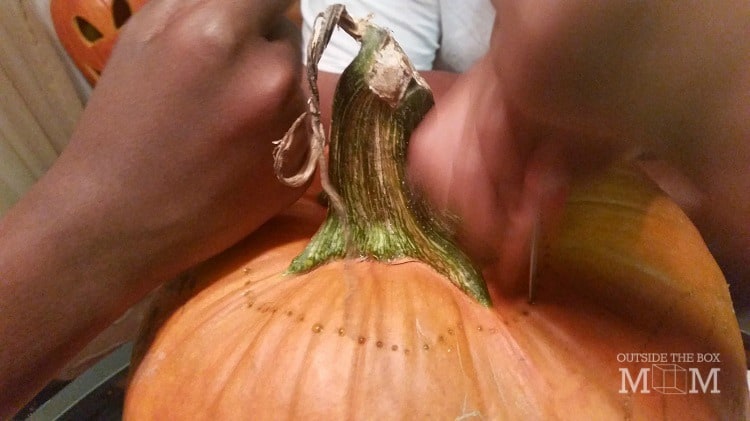
Wet the pattern. Apply it to the pumpkin while wet. Get it as smooth as possible. Use The Poker to trace the pattern onto your pumpkin.
Using The Detail Saw and The Ergo Saw to remove the outer layer of the pumpkin, along the pattern. Hold the pumpkin in your lap or place it on the table. Saw at a 90° angle to the pumpkin with gentle pressure.
The saw is breakable if used incorrectly. If the pattern becomes fragile or ragged as you carve, patch over it with plastic wrap, and continue carving. Make the outermost cuts last.
Tip: Prevent exposed areas of the pumpkin’s flesh from turning brown by applying a film of Vaseline.
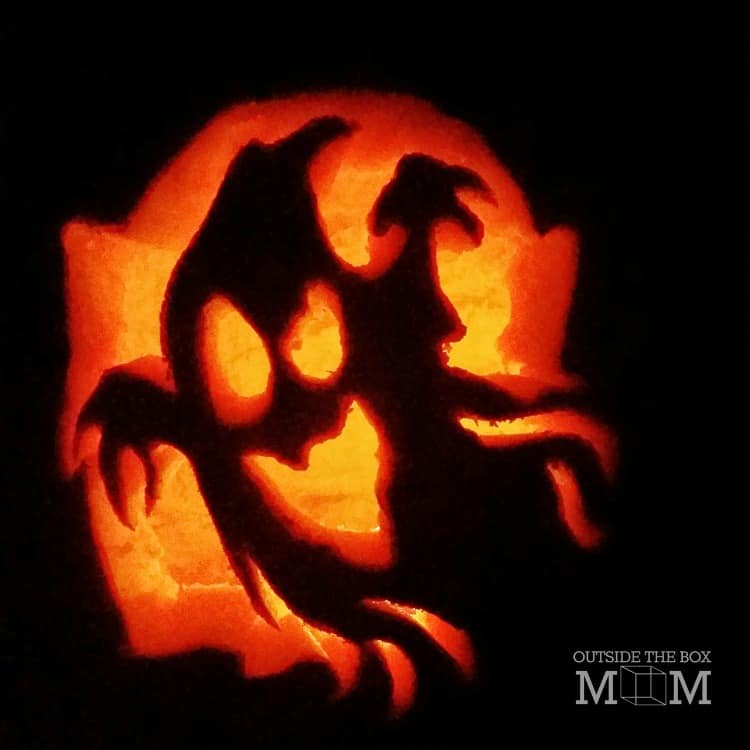
Here’s what our finished pumpkin looked like.
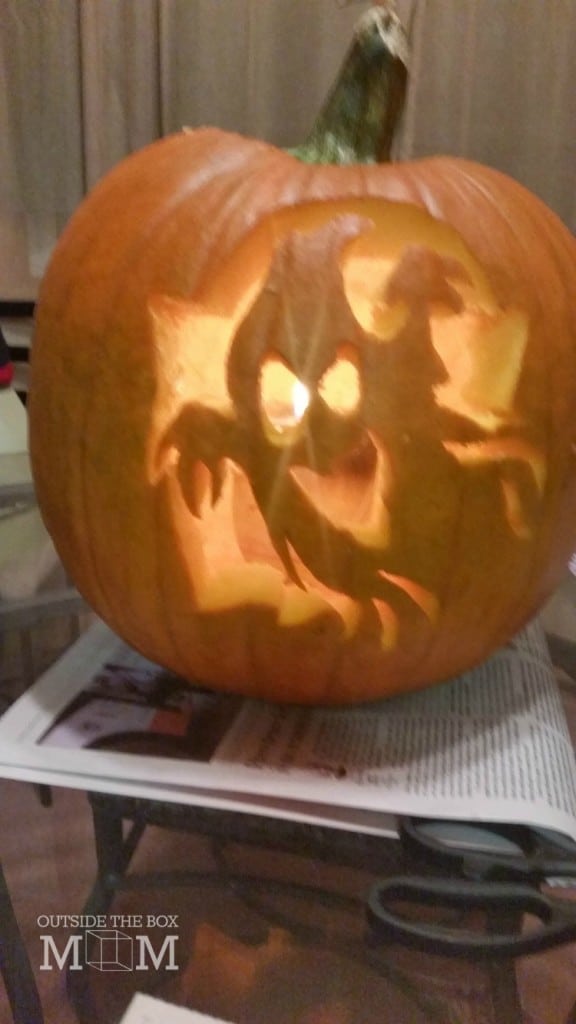
Place a battery-operated light* or candle inside your carved pumpkin. Place the pumpkin’s top back in place. Watch your carving come to life! Always put the candle in a high-sided glass, and never leave unattended.
This is what our finished pumpkin looked like in the dark. I think they did a great job and everyone was super proud of it.

What are your family’s favorite easy pumpkin carving ideas?



Thanks for linking up to Home Matters Party. #HomeMattersParty http://cu-rio.net/home-matters-linky-party-61/
Great idea!
Thanks for sharing this week at the Merry Monday link party!
We hope to see you again next week!
Kate | TheOrganizedDream.com
Carving pumpkins is a huge thing in my husbands family. We have this set and it works pretty well. Thanks for sharing your ideas.
How fun – yours turned out great! Thank you for sharing this with us at the #HomeMattersParty
I always try to talk my kids into painting the pumpkins but they love to carve them! These kits would help a lot! Thanks for sharing at Welcome Home Wednesdays!