Wood putty in general is not an expensive item, so why would you be willing to make your own when you can easily buy cheap wood putty from any hardware store in town? 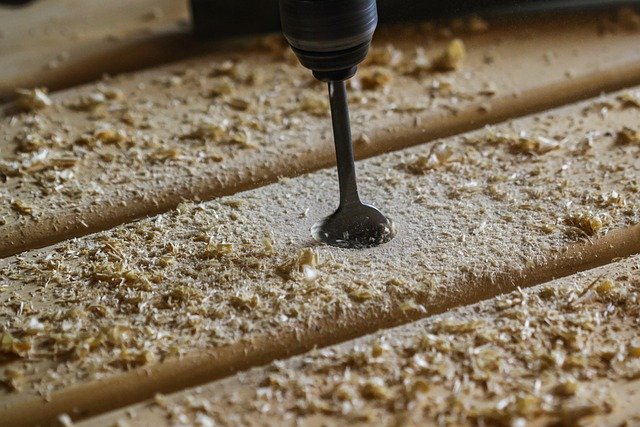
Here’s why: because those wood putties are dyed a particular color to make the match. They will never really match the true color of your wood or lumber framing since every piece of wood is inherently different in color, texture, and shade.
To get a perfect matching color for your wood putty, you actually need the wood dust from the wood piece you plan on using the wood putty for. There are many projects where a wood putty can be used, but if you need inspiration for that, this extensive list of woodworking projects can help you out.
Going back to the putty, here are the main things you have to think about:
What you Need
The easiest way to get the wood that you need to make the wood putty is by attaching a sawdust catchall bag onto your sander, saw or other power tool you’re working with. Wood chips and saw dust flakes won’t do the trick; you need as fine a wood dust as you can get. I like to save all of my dust from sanding just for this purpose.
Besides a good handful or two of some fine dust from your sander or saw dust bag, you’ll also need a good product to bond the materials together with. And that calls for the best wood fastener available-good old fashioned white Elmer’s glue or equivalent clear drying wood glue.
Last but not least, you’ll need to mix all of these materials safely. I like to use an old piece of wood or cardboard. Basically, you can use whatever materials you like, but just keep in mind that it’s going to get ruined in the process and should be something you don’t mind throwing away.
How to Make Homemade Wood Putty
Creating your own wood putty is easy enough, but the materials will dry quickly and must be used right away. It’s also important to mix a little more than you’ll need. This way, you won’t run out in the middle of filing holes and have to make a new batch that could be a slightly different shade than the last.
Take a small handful of fine sawdust and remove any large pieces of debris or shavings. Pile the mixture onto your cardboard (or other throw away material) and make a small indent in the middle of the pile.
Add a small splotch of wood glue into the indent and mix the materials tighter using your fingers. Add small amounts of glue to the pile of sawdust and mix them together until you achieve a putty like consistency. In other words, you should be able to roll the glue and sawdust together into small balls that you can roll between your fingers without it sticking too much.
On the other hand Products like wood primer would be hard to make at home
Fill the hole with the putty until the putty fills the hole and then some. Allow the putty to dry for a minimum of four hours before sanding, but I like to let it dry overnight. Use a light grit sandpaper to remove the excess putty.
While this wood putty will work well in most situations, it’s not really strong enough for larger gaps and cracks. Fill these larger voids first with manufactured wood putty, and then follow up with another layer of your homemade putty to make the perfectly blended wood filler.