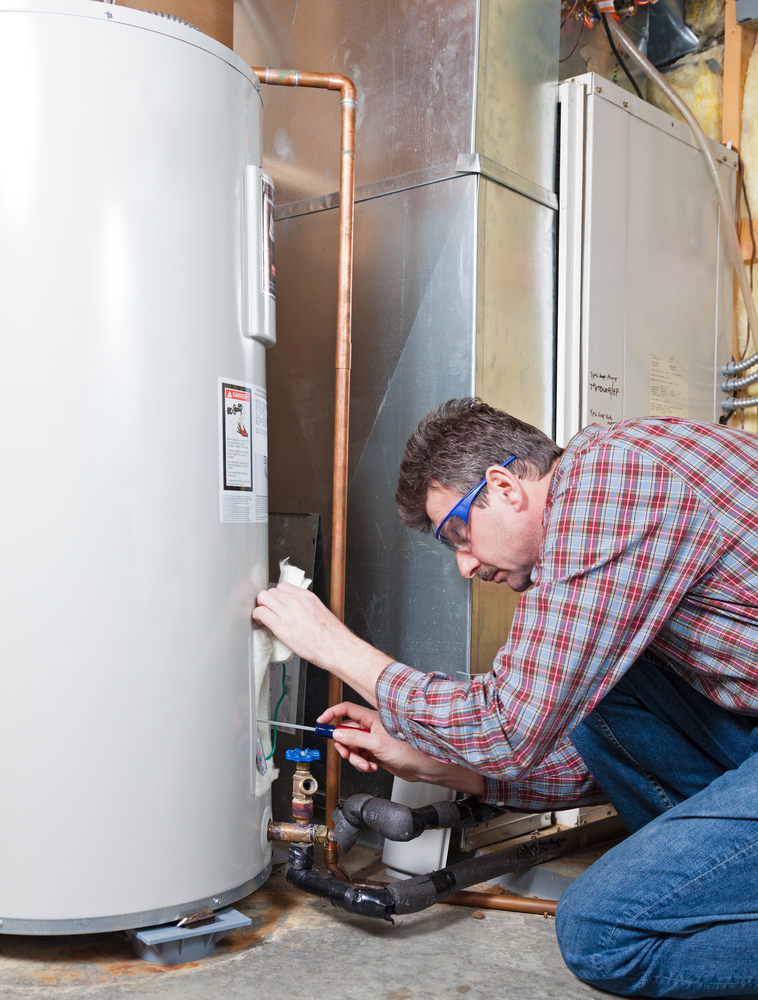
Do you want to ensure that your water heater is running at its best and most efficiently? Homeowners should know how to clean their water heaters regularly in order to extend their lifespan, save money on energy bills, and prevent unexpected issues from occurring.

Cleaning a water heater isn’t difficult but it does require some safety precautions and the right tools. In this article, we’ll provide a step-by-step guide on how to clean your water heater safely and efficiently.
Continue reading to learn more.
Afterward, you can click the following link to learn more about the installation process for water heaters.
The ultimate step-by-step guide on how to clean your water heater
Having a clean and well-maintained water heater can help homeowners save money on energy bills, extend the lifespan of their unit, and prevent avoidable repairs. Cleaning your water heater isn’t difficult but it does require some safety precautions and the right tools.
Here is a step-by-step guide for homeowners who want to clean their water heaters safely and efficiently.
1. Cut off the power to your water heater
Before beginning any maintenance work, make sure that you turn off both the gas supply and electrical power source to your water heater. Depending on your model, this may involve shutting off individual circuit breakers in your home’s electrical panel or turning off the gas valve located near the tank.
2. Drain your tank
Before you begin cleaning, you’ll want to empty out as much of the existing hot water from the tank as possible. To do this, connect a run-of-the-mill garden hose to the drain valve found at the bottom of the tank and then direct it towards an outdoor drain or utility sink until all of the hot water has been drained out.
Make sure that you keep track of how long it takes for all of the hot water to be drained from your tank so that you can plan accordingly for when you refill it later on.
3. Clean away residue from around heating elements
Now that most of the hot water has been drained out of your tank, you can start scrubbing away any built-up sediment or calcium deposits around your heating element(s). It’s important not to use any harsh chemicals during this process as they could damage sensitive parts within your tank. Instead, use an old toothbrush and some vinegar or baking soda dissolved in warm water to gently scrub away any buildup around these areas.
4. Flush out remaining sediment
Next up is flushing out any remaining sediment inside your tank with fresh cold tap water or a solution made up of baking soda or vinegar (no harsh chemicals here either). You’ll need to find where your vacuum relief valve is located and attach a garden hose so that you can flush out all of these sediments with running water from outside using gravity instead of relying solely on manual scrubbing (which should still be done if necessary too).
5. Refill with cold tap water
Once all sediment has been flushed out, reattach your garden hose back onto its original position before refilling up with cold tap water until full again (you may need more than what was originally there due to air space). It’s recommended that homeowners wait 15 minutes before turning their power back on so that everything settles into place properly inside their tanks (do not forget this step!).
6. Test for leaks
After refilling up completely with cold tap water and waiting 15 minutes (as mentioned in step 5), turn back on both electric/gas supplies while also keeping an eye out for potential leaks coming from hoses or pipes connected directly to your unit itself – if there are any ones detected at this point then those should be addressed immediately by qualified personnel before continuing further with other maintenance work!
7. Replace the unit’s sacrificial anode rod (if applicable)
The sacrificial anode rod is a metal rod used inside many tanks which helps protect them against corrosion over time; however, they do eventually need replacing every 3 years or so depending on usage conditions/types, etc… If yours has gone beyond its expiration date then now would be a good time to replace it otherwise leave this step alone!
8. Test pressure relief valve
Finally, after all of the other steps have been taken care of properly, test whether or not your pressure relief valve is working correctly – simply press down lightly over its lever handle in order for it activate properly; if everything goes according to plan then nothing should come out while doing so but if something does come flowing out then get professional help right away as this indicates a serious issue somewhere else within the system itself!
A step-by-step guide on how to clean your water heater — Conclusion
And there you have it – a complete guide for how homeowners can clean their units safely and efficiently without needing professional help every single time! Just remember: always shut off power sources before performing any maintenance work whatsoever!
Related Posts: